Best Sprouting Methods: Jar or Tray—Which One Works Best?
Sprouting at home is one of the simplest ways to add fresh, nutrient-packed greens to your diet. Whether you’re boosting your salads, topping sandwiches, or blending them into smoothies, homegrown sprouts offer unbeatable flavor and health benefits.
But when it comes to sprouting, you’ve got options. The two most popular methods—jar sprouting and tray sprouting—each have their perks. So, which one gives you the best results? In this guide, we’ll break down both techniques, weigh their pros and cons, and help you choose the best method for growing your own ZestiGreens sprouts at home.
🌿 Why Sprout at Home?
If you’ve ever bought sprouts from the store, you know they can be pricey—and their freshness is hit or miss. When you sprout at home, you’ll enjoy:
- Unmatched freshness: Homegrown sprouts are crisp, flavorful, and packed with nutrients.
- Cost savings: Sprouting seeds yield multiple harvests, making them a budget-friendly superfood.
- Peace of mind: You control the growing process—no additives or chemicals, just pure, organic goodness.
Plus, sprouting is easy. With just water, seeds, and a jar or tray, you can grow a fresh batch of sprouts in less than a week.
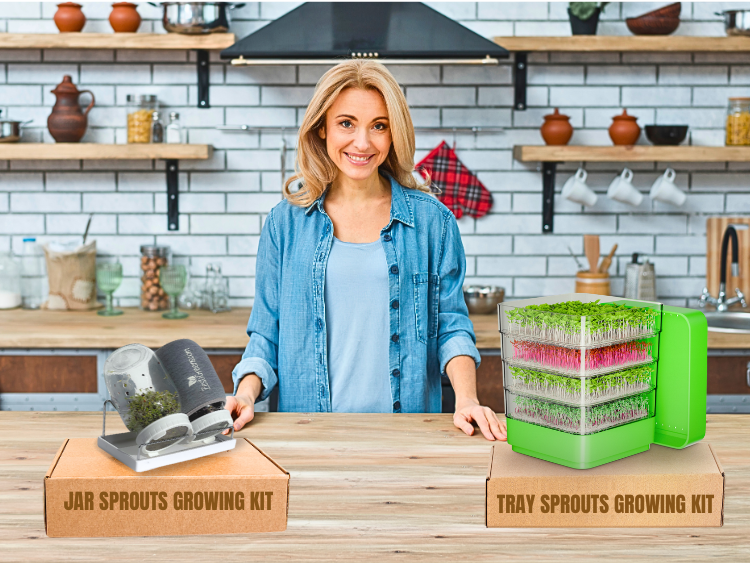
Jar Sprouting: Small Batch, Big Convenience
The jar sprouting method is a favorite among beginners for its simplicity and minimal setup. All you need is a mason jar, sprouting lid, and seeds—making it a quick and accessible option.
✔️ How It Works
- Add the seeds: Place 1-2 tablespoons of your favorite sprouting seeds (like broccoli, alfalfa, or mung beans from ZestiGreens) into a clean quart-sized jar.
- Soak the seeds: Cover the seeds with water and let them soak for 8-12 hours.
- Rinse and drain: Drain the water through the mesh lid, then rinse the seeds twice daily with fresh water.
- Grow and harvest: In 3-5 days, your sprouts will be ready to harvest.
Pros
- Space-saving: Perfect for small kitchens or countertop sprouting.
- Low-maintenance: Minimal equipment required.
- Great for beginners: Easy to manage and control.
Cons
- Limited yield: Jar capacity restricts how much you can grow.
- Reduced airflow: Seeds clump together, which can cause uneven growth.
- Frequent rinsing needed: To prevent mold, rinsing twice daily is essential.
Tray Sprouting: Bigger Yields, More Variety
If you’re looking for larger harvests or want to sprout multiple varieties at once, the tray method is your best bet. With better airflow and room for growth, trays are ideal for frequent sprouters.
✔️ How It Works
- Prepare the tray: Spread a thin layer of seeds evenly over a sprouting tray or flat container.
- Soak and drain: Soak the seeds, then drain thoroughly.
- Rinse and mist daily: Rinse the seeds once or twice a day to keep them moist.
- Harvest in 5-7 days: Once the sprouts reach your desired size, they’re ready to harvest.
Pros
- Higher yields: Grow larger batches in one go.
- Better airflow: Reduces the risk of soggy sprouts or mold.
- Perfect for variety: Grow different sprout types side by side.
Cons
- Requires more space: Needs countertop or shelf space.
- More cleanup: Trays must be thoroughly cleaned between uses.
- Larger seed quantity: Uses more seeds per batch compared to jar sprouting.
Jar vs. Tray: Which Sprouting Method Wins?
Both methods have their strengths, but the best option depends on your goals and lifestyle:
-
Choose jar sprouting if you:
- Have limited space or prefer smaller batches.
- Want a low-cost, beginner-friendly setup.
- Enjoy sprouting on an occasional basis.
-
Go for tray sprouting if you:
- Want larger, more frequent harvests.
- Plan to grow multiple sprout varieties.
- Prefer better airflow and easier maintenance.
💡Pro Tip: Can’t decide? Use both methods! Jar sprouting is perfect for quick, small batches, while trays offer bulk sprouting for meal prepping or sharing with family and friends.
ZestiGreens Sprouting Tips for Success
No matter which method you choose, these expert tips will help you achieve vibrant, healthy sprouts every time:
- Use high-quality seeds: ZestiGreens offers a variety of premium, organic sprouting seeds for optimal flavor and nutrition.
- Rinse consistently: Proper rinsing keeps sprouts fresh and prevents spoilage.
- Ensure good airflow: Jars should tilt for drainage; trays should be well-ventilated.
- Store properly: Keep harvested sprouts in the refrigerator in an airtight container and consume them within 3-5 days.
🌿Sprout with ZestiGreens: Quality You Can Taste
At ZestiGreens, we’re passionate about helping you grow fresh, organic sprouts at home. Our non-GMO sprouting seeds are specially selected for their exceptional germination rates and delicious flavors.
Whether you prefer the simplicity of jar sprouting or the high yield of trays, ZestiGreens makes it easy to enjoy the health benefits of homegrown sprouts—all year round.
🍃 Final Thoughts
Both jar and tray sprouting offer unique advantages. If you’re new to sprouting or only need small batches, the jar method is simple and effective. For larger harvests, tray sprouting delivers better airflow and bigger yields.
No matter which method you choose, ZestiGreens’ premium sprouting seeds guarantee delicious, nutritious results every time.
Ready to start sprouting? Explore our sprouting kit and seeds collection and discover how easy it is to grow fresh, flavorful greens right in your own kitchen.