What Are Microgreens? (And Why You’ll Love Growing Them, Even If You’ve Never Grown a Thing in Your Life)
If you’re curious about microgreens but feel a little intimidated by the idea of growing something yourself—don’t worry, we’ve been there too.
In this post, we’re breaking it all down: what microgreens are, why they’re so good for you, and how you can start growing them—even if you’ve never touched a garden tool in your life.
Let’s get into it!
🌱 So, What Are Microgreens?
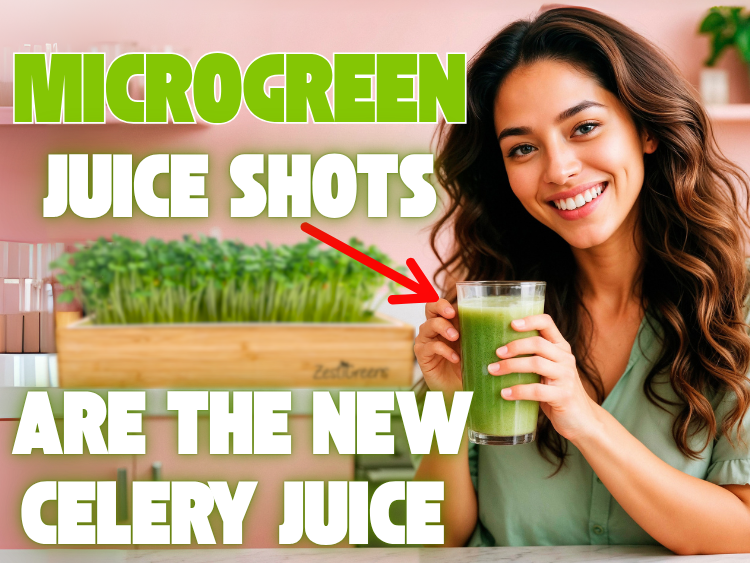
Microgreens are tiny, edible plants that are harvested when they’re still young—usually about 1 to 3 inches tall, just after their first set of true leaves emerge. Think of them as the baby stage between sprouts and full-grown veggies.
They might be small, but they’re packed with flavor, vibrant color, and an impressive nutrient punch. And the best part? They’re super easy to grow at home.
🥗 Why Microgreens Are So Popular
Here’s why so many people (us included!) love microgreens:
- They grow fast – You can harvest in as little as 7–14 days.
- They’re super nutritious – Studies have shown that some microgreens contain up to 40x more nutrients than their mature counterparts.
- You don’t need a garden – Just a windowsill and a small tray will do.
- They’re easy to grow – Even if you’ve never grown anything before, microgreens are the perfect place to start.
- They taste amazing – From spicy to nutty to sweet, microgreens bring a fresh pop of flavor to your meals.
- They provide the finishing touch to any meal – Sprinkle them on top of almost anything, and suddenly it looks like a dish from a fancy restaurant. You’ll feel like a pro chef (even if dinner was just scrambled eggs).
🧡 A Great First-Grow for Beginners
If the idea of growing your own food sounds exciting but also a little scary—you’re in good company. That’s exactly why we created ZestiGreens.
We wanted to make microgreens growing simple, accessible, and actually fun—even for folks who have never grown anything before (yes, even if you’ve killed a few houseplants, it’s OK—we’ve been there!).
🌿 What Can You Grow as a Microgreen?
You’d be surprised at how many plants you can enjoy in micro form. Some of our favorite and most beginner-friendly microgreens include:
- Broccoli – Mild, slightly peppery, and loaded with sulforaphane
- Radish – Spicy and crunchy
- Sunflower – Juicy and nutty
- Pea shoots – Sweet and crisp
- Kale – Earthy and tender
You can also try herbs like basil, cilantro, and dill once you get the hang of it!
🌞 What Do You Need to Grow Microgreens?
You don’t need much to get started. Here’s a simple list of what you’ll use:
- Microgreens seeds – Specifically labeled for sprouting and safe to eat
- A growing tray – With or without drainage holes
- Growing medium – Like coconut coir, soil, or grow mats
- Spray bottle – For watering without drowning your seeds
- Light – A sunny windowsill works great, or a grow light if you want to get fancy
If you’re not sure where to start, our ZestiGreens Microgreens Kits include everything you need—no guesswork, no overwhelm, just an easy way to grow your first tray of microgreens with confidence.
👣 How to Grow Microgreens: Step-by-Step
Here’s a quick overview of the process—it’s easier than you might think!
-
Prep your tray
Add your growing medium (like coconut coir or a grow mat) to your tray and moisten it. -
Spread your seeds
Sprinkle a layer of microgreens seeds evenly over the surface. Don’t bury them! -
Cover and wait
Cover the tray with a lid or another tray to block out light for the first few days. This encourages even germination. -
Mist daily
Spray the seeds with water once or twice a day to keep them moist. In a few days, you’ll see tiny green shoots starting to emerge! (The ZestiGreens Microgreens Kit is self watering so you can ignore this tip.) -
Let them see the light
After 3–5 days, uncover the tray and place it in a spot with plenty of light. The sprouts will green up quickly and start growing taller. -
Harvest and enjoy!
In 7–14 days (depending on the variety), your microgreens will be ready to harvest. Just snip them above the roots with clean scissors, rinse, and enjoy.
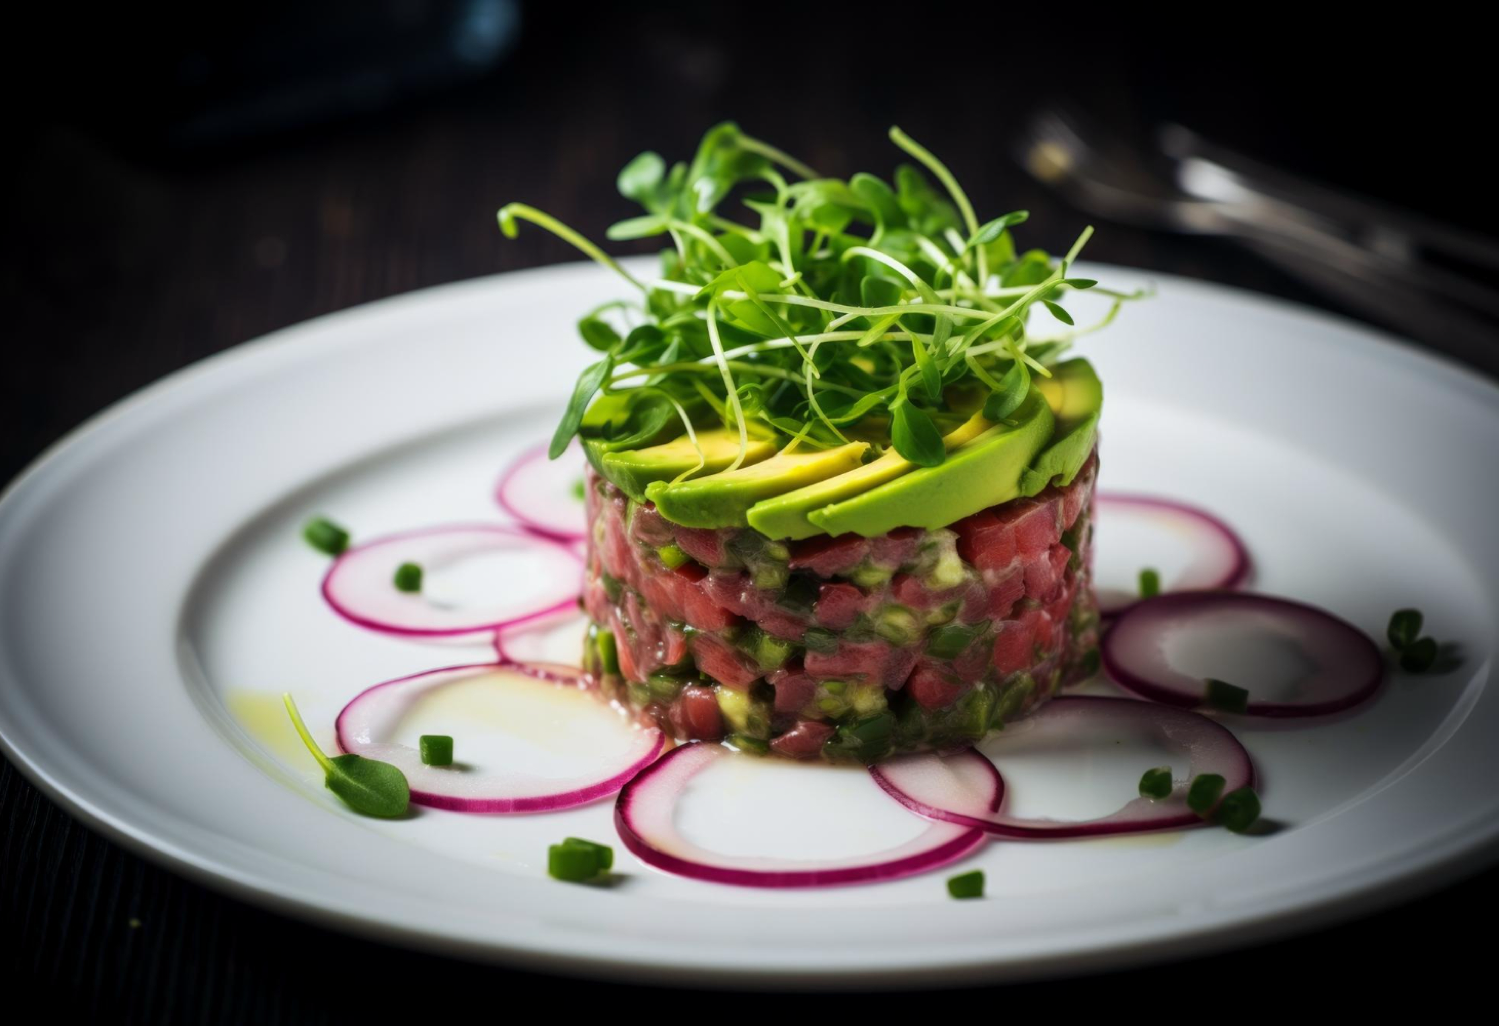
🥑 How to Eat Microgreens
Microgreens aren’t just pretty—they’re also delicious. Here are a few of our favorite ways to use them:
- Tossed on top of avocado toast
- Mixed into salads
- Layered in wraps and sandwiches
- Sprinkled on soups, eggs, or grain bowls
- Blended into smoothies (especially broccoli sprouts!)
They add a fresh burst of flavor and crunch to just about anything.
❄️ How to Store Microgreens
After harvesting, store your microgreens in a sealed container in the fridge. Line it with a paper towel to absorb extra moisture. They’ll stay fresh for up to 7 days—though they usually get eaten faster in our house!
🛒 Where to Get the Best Seeds and Kits
Not all seeds are created equal. For growing microgreens, you want seeds that are non-GMO, untreated, and tested for sprouting safety.
At ZestiGreens, we take seed quality seriously. Our microgreens kits and seed packs are curated for high germination, great taste, and easy growing. Whether you're just getting started or ready to grow a mini jungle on your windowsill, we’ve got everything you need.
🌞 Final Thoughts: Why Microgreens Just... Make Life Better
Growing microgreens has been one of the simplest, most rewarding habits I’ve added to my life. There’s something so satisfying about watching little green life push up from a tray, knowing you created it from seed to plate.
Even if you’ve never grown anything before, this is your moment. Start small. Start simple. Start with a kit. I promise, your windowsill (and your taste buds) will thank you.
And when your friends ask what that amazing little green thing on your sandwich is, you can proudly say: “I grew that.”
Happy growing,
— Jeanette from ZestiGreens.com