ZestiGreens · Grow something fresh
Your Self Watering Microgreens Kit.
From seed to snip.
Set up the tray, let the mat wick water, and check your greens as they grow.
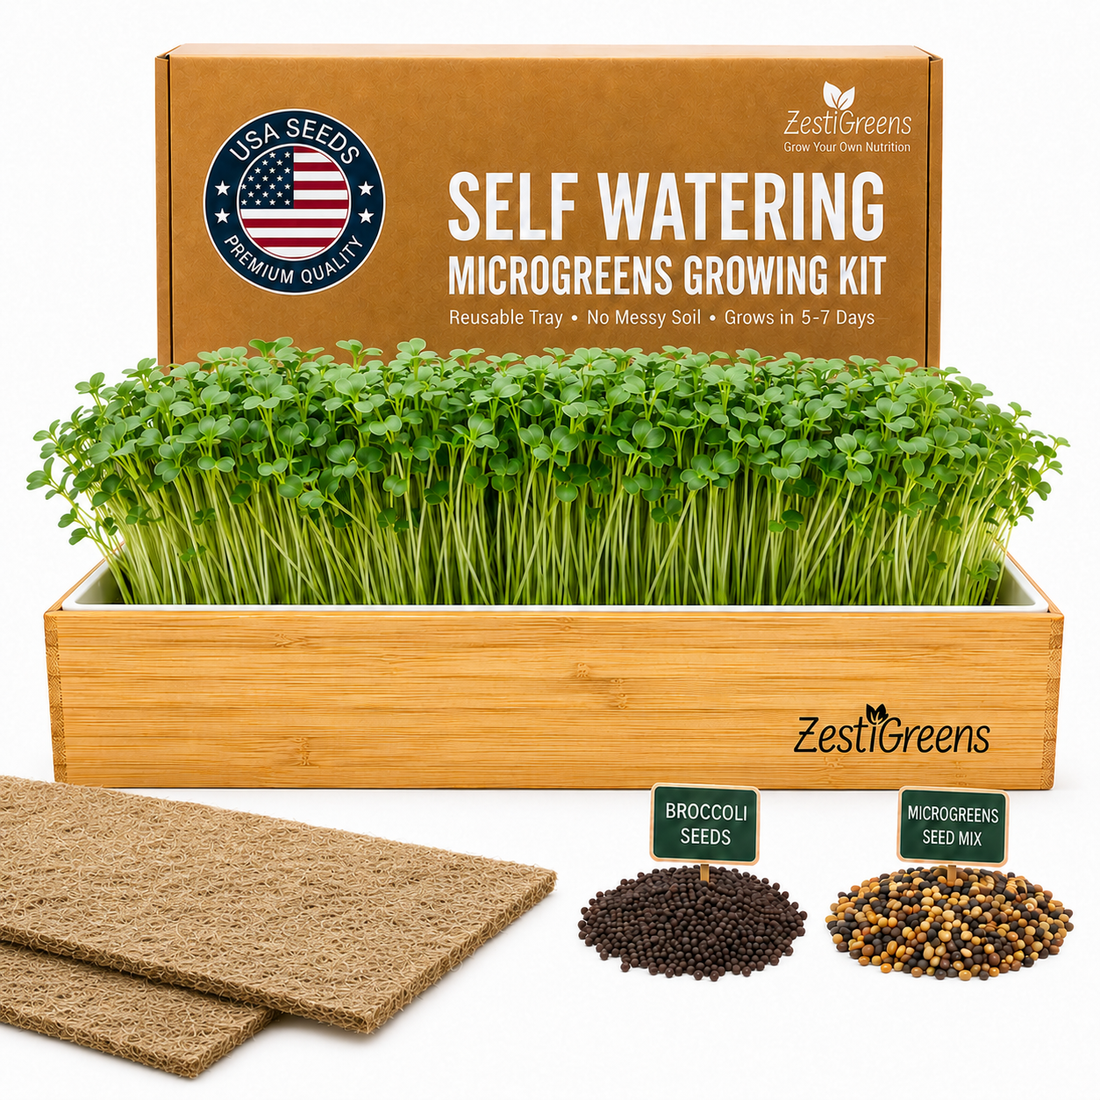
Use the guide supplied with your current kit and seed variety if it differs from these instructions.
Wet your seeds
For the supplied kit seeds, place one whole packet into ½ cup of water for a few minutes so every seed is wet. Follow any variety-specific preparation instructions.
Fit the insert and mat
Place the insert in the tray with its lip underneath, keeping it raised. Place one hemp mat on top with the white side facing down. Tuck both ends into the tray.
Fill the reservoir
Pour 2½ cups of water over the mat to wet it fully. The tucked ends draw water from the tray. Check the water level during your grow; conditions can affect how quickly it is used. The water may turn brown from the hemp mat.
Spread and cover
Pour the seeds and their ½ cup of water onto the mat. Spread evenly, avoiding piles of overlapping seeds, and cover with the felt blackout lid.
Give your greens light
The kit guide suggests removing the lid after about three days. Provide natural or artificial light and air circulation. The guide recommends 65–75°F. Fine root hairs may appear; do not eat a crop with suspected mold or spoilage.
Snip your harvest
Many of the supplied microgreens are ready in about 5–7 days, when green and 2–3 inches tall. Cut with clean scissors about ¼ inch above the mat. Follow the seed instructions if your variety differs.
Prepare for the next crop
Hand-wash the tray and insert thoroughly and allow them to air-dry. Start the next crop with fresh seeds and a new hemp mat. Refrigerate harvested greens promptly.
A SMALL START. A FRESH EVERYDAY.
Ready to grow
something fresh?
Reusable kits. Step-by-step guidance. More fresh on your plate.